Sunshine X Moonlight on Fedora 40
Bundle
- Linux Fedora 6.13.8-100.fc40.x86_64
- Nvidia 570.133.07
- CUDA 12.8
Introduction
I am far from being an expert in any of the following.
I read a bunch of GitHub issues, tutorials, and random posts.
I think there are many ways to achieve the same thing, but I’m still not satisfied with the outcome. I’ll need to read more to fully understand “X multiseat” and “virtual inputs.”
Anyway, this post is just my notes on how I was able to do the following:
- Install Nvidia prerequisites
- Install Sunshine
- Start Sunshine with and without a physical screen (both work)
- Start and connect to the server through Moonlight with auto-login, without having to authenticate TTY1 on the physical device
- Do all this without sudo (except for the initial setup)
These notes are probably not copy-paste ready, as setups may differ slightly.
Prerequisites
sudo dnf install nvidia-vaapi-driver libva-utils vdpauinfo
sudo dnf install xorg-x11-drv-nvidia-cuda-libs xorg-x11-drv-dummy
sudo dnf copr enable lizardbyte/beta
sudo dnf install Sunshine
You might need to install other dependencies depending on your machine’s current state (I already had a couple of things installed from other projects and tests).
Linux Setup
I’m not convinced this setup is considered secure, so use it at your own risk. This machine is not exposed to the internet (I saw a few posts where people exposed their machines. I use WireGuard for that).
Reference: Xorg.wrap
This line allows everything to work (meaning that using SSH, you’ll be able to spin up a screen and start Sunshine):
sudo echo "allowed_users=anybody" | tee -a /etc/X11/Xwrapper.config
I had to do this a couple of times, but I don’t think it’s required every time:
lsmod | grep uinput
# If uinput is missing, you have to load it manually.
sudo modprobe uinput
File permissions
This part was tricky, and again, I’m not sure how secure it is. I’m also not 100% convinced it’s required in all cases.
sudo usermod -aG video $USER
sudo usermod -aG input $USER
sudo setfacl -m g:input:rw /dev/uinput
sudo setfacl -m g:input:rw /dev/uhid
Note: I do not make these configurations persistent, and that’s intentional. You can make them persistent if needed.
Xorg Setup
This part is still pretty obscure to me…
I tested a couple of things but didn’t cover all edge cases.
The config I got working—with and without a physical screen (or dummy dongle) connected—is the following:
Note: If you reboot your machine and lose video output, it’s very likely caused by this file.
Reference: remote-ssh-headless-sunshine-setup
sudo vi /etc/X11/xorg.dummy.conf
Section "ServerLayout"
Identifier "TwinLayout"
Screen 0 "metaScreen" 0 0
EndSection

Section "Monitor"
Identifier "Monitor0"
Option "Enable" "true"
EndSection

Section "Device"
Identifier "Card0"
Driver "nvidia"
VendorName "NVIDIA Corporation"
BusID       "PCI:8:0:0"
Option "MetaModes" "1920x1080"
Option "ConnectedMonitor" "DP-0"
Option "ModeValidation" "NoDFPNativeResolutionCheck,NoVirtualSizeCheck,NoMaxPClkCheck,NoHorizSyncCheck,NoVertRefreshCheck,NoWidthAlignmentCheck"
EndSection

Section "Screen"
Identifier "metaScreen"
Device "Card0"
Monitor "Monitor0"
DefaultDepth 24
Option "TwinView" "True"
SubSection "Display"
Modes "1920x1080"
EndSubSection
EndSection
PS5 Controller
In Sunshine’s web UI, I had to force Xbox Controller emulation; otherwise, the PS5 mapping in Moonlight was incorrect.
Launch everything
export DISPLAY=:99
Xorg :99 -config 20-dummy.conf -keeptty
sunshine &
gnome-session &
And when you are done:
kill %1
Run
jobs, and the first PID (1) represents theXorgprocess. The other processes will be terminated automatically.
Extra notes
- It also worked using
startxinstead ofXorg, but I experienced more lag (I have no clue if it’s related to startx vs. Xorg). - The physical display turns off while Xorg runs. When stopped, the physical display turns back on automatically.
- You can’t use the physical display alongside the remote session.
- The physical device controls the remote session—beware of cats!
- Using nvidia-smi, I confirmed that my GPU is being used.
- Killing the Xorg process closes the session, running games, everything… So save your work before killing the process or losing the SSH - connection.
- Maybe using nohup for a persistent session? I didn’t test that.
- I tested Xvfb, but I didn’t get the expected output. I might try again with this approach since my goal is to enable multiseat on one GPU.
- I was able to stream 4K YouTube videos and play games without issues.
Errors that I saw often
(EE)
Fatal server error:
(EE) no screens found(EE)
(EE)
Please consult the The X.Org Foundation support
	 at http://wiki.x.org
 for help.
(EE) Please also check the log file at "/var/log/Xorg.99.log" for additional information.
(EE)
(EE) Server terminated with error (1). Closing log file.
The error can be anything… but the /var/log/Xorg.99.log contains relevant information.
I noticed that I needed to move the config file (as mentioned above) and avoid using unusual configurations.
[2025-04-01 23:48:25.324]: Info: Sunshine version: v2025.331.200502
[2025-04-01 23:48:25.324]: Info: Package Publisher: LizardByte
[2025-04-01 23:48:25.324]: Info: Publisher Website: https://app.lizardbyte.dev
[2025-04-01 23:48:25.324]: Info: Get support: https://app.lizardbyte.dev/support
[2025-04-01 23:48:25.324]: Info: config: 'nvenc_twopass' = full_res
[2025-04-01 23:48:25.324]: Info: config: 'nvenc_preset' = 1
[2025-04-01 23:48:25.324]: Info: config: 'native_pen_touch' = disabled
[2025-04-01 23:48:25.324]: Info: config: 'gamepad' = xone
[2025-04-01 23:48:25.326]: Warning: Failed to create system tray
[2025-04-01 23:48:25.392]: Error: Failed to create session:
[2025-04-01 23:48:25.392]: Error: Couldn't open: /dev/dri/card1: Permission denied
[2025-04-01 23:48:25.392]: Error: Environment variable WAYLAND_DISPLAY has not been defined
[2025-04-01 23:48:25.392]: Info: Detecting displays
[2025-04-01 23:48:25.392]: Error: Unable to initialize capture method
[2025-04-01 23:48:25.392]: Error: Platform failed to initialize
[2025-04-01 23:48:25.492]: Info: // Testing for available encoders, this may generate errors. You can safely ignore those errors. //
[2025-04-01 23:48:25.492]: Info: Trying encoder [nvenc]
[2025-04-01 23:48:25.892]: Info: Encoder [nvenc] failed
[2025-04-01 23:48:25.892]: Info: Trying encoder [vaapi]
[2025-04-01 23:48:26.292]: Info: Encoder [vaapi] failed
[2025-04-01 23:48:26.292]: Info: Trying encoder [software]
[2025-04-01 23:48:26.692]: Info: Encoder [software] failed
[2025-04-01 23:48:26.692]: Fatal: Unable to find display or encoder during startup.
[2025-04-01 23:48:26.692]: Fatal: Please check that a display is connected and powered on.
[2025-04-01 23:48:26.693]: Error: Video failed to find working encoder
[2025-04-01 23:48:26.694]: Info: Adding avahi service fedora
[2025-04-01 23:48:26.695]: Info: Configuration UI available at [https://localhost:47990]
[2025-04-01 23:48:27.540]: Info: Avahi service fedora successfully established.
When starting Sunshine, if you see this, your display is misconfigured.
- Be sure to export
DISPLAY=:99 - Be sure that Xorg is running on the
:99ID as well
Moonlight connects but the screen is black
You need to start your GUI; in my case, it is gnome-session. Again, to launch this command, be sure to export DISPLAY=:99.
everything works, expect the inputs (mouse/keyboard)
This one is tricky. Be sure to have changed the necessary settings (and logged out/in to apply the group changes), then start the Xorg, Sunshine, and gnome-session commands. If it is still broken, try a reboot. If it’s still not working, I can’t say. I struggled a bit with this, and it seems related to the permissions on /dev/uinput.
/usr/lib/Xorg.wrap: Only console users are allowed to run the X server
You forgot to add the necessary line in the first config file (or your setup is using a different path for that file?).
I encountered many more issues while working on this and will try to add more details if I find anything new.
[2025-04-08 20:26:42.329]: Error: Couldn't connect to pulseaudio: Access denied
[2025-04-08 20:26:42.329]: Warning: There will be no audio
[2025-04-08 20:26:42.329]: Error: Unable to initialize audio capture. The stream will not have audio.
It was caused by doing sudo su user2
simply SSH directly into the correct user… Based on what I observed it aint an issue.
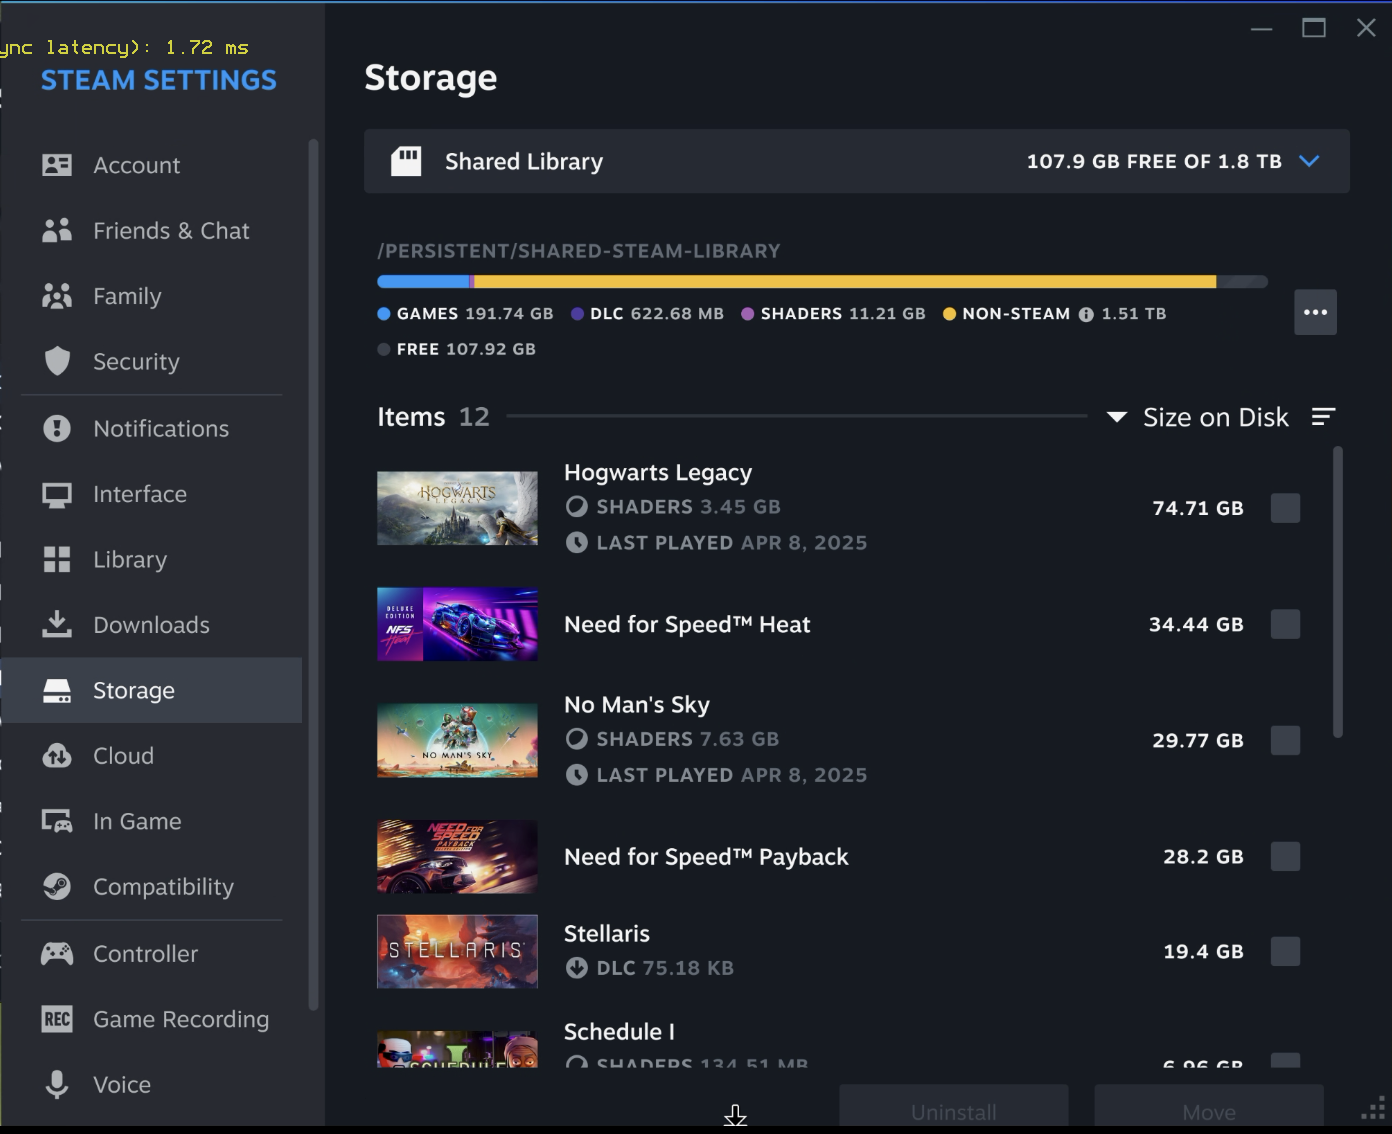
Steam Shared Library Setup
NOTE: Launch
steamfrom your terminal if you want to see all error messages. But make sure Steam is closed while following the steps below.
I needed to set up a shared Steam library with specific permissions. It might look like there are some redundant commands, but getting this right wasn’t exactly straightforward.
Make sure Steam is fully exited before continuing.
🔧 Create the Shared Steam Library
sudo mkdir /persistent/shared-steam-library

sudo chown -R user1:steam /persistent/shared-steam-library
sudo chmod -R 775 /persistent/shared-steam-library
sudo chmod g+s /persistent/shared-steam-library

sudo setfacl -R -m u:user1:rwx /persistent/shared-steam-library
sudo setfacl -R -m u:user2:rwx /persistent/shared-steam-library

sudo setfacl -d -m u:user1:rwx /persistent/shared-steam-library
sudo setfacl -d -m u:user2:rwx /persistent/shared-steam-library
Check the permissions using:
getfacl /persistent/shared-steam-library
📁 Set Up Required Directory
Create the steamapps directory:
mkdir /persistent/shared-steam-library/steamapps/
Verify permissions again:
getfacl /persistent/shared-steam-library/steamapps
🎮 Install or Copy Your Games
At this point, you can install or copy existing games to this shared library. Don’t forget to reapply the permissions commands above if you copy any files.
Each user must also configure their own libraryfolders.vdf file.
Location: ~/.local/share/Steam/steamapps
⚠️ Important: Do not share the entire Steam folder like
/home/user1/.local/share/Steam. Every user should have their own home directory. Also, Proton versions (e.g., 9.0.*, experimental, hotfix) must be manually placed inside each user’s home.
🗂 Example libraryfolders.vdf
"libraryfolders"
{
	"0"
	{
		"path"		"/home/user1/.local/share/Steam"
		"label"		""
		"contentid"		"some-id"
		"totalsize"		"0"
		"update_clean_bytes_tally"		"130813730"
		"time_last_update_verified"		"1744071322"
		"apps"
		{
			"228980"		"326134489"
		}
	}
	"1"
	{
		"path"		"/persistent/shared-steam-library"
		"label"		"Shared Library"
		"contentid"		"some-id"
		"totalsize"		"1999422177280"
		"update_clean_bytes_tally"		"130813730"
		"time_last_update_verified"		"1744071322"
		"apps"
		{
		}
	}
}
✅ Final Steps
Launch Steam as user1.
Head into the settings, enable compatibility for your game, and choose the Proton version you prefer (I usually go with Proton 9.0.*).
You can now install or launch the game.
Everything should work smoothly at this point.
And remember, if something’s still broken, start Steam via the terminal to get detailed logs and spot any remaining permission issues.
Screenshots